Troubleshooting
Why Your Hearing Aids Whistle and How to Fix It
A whistling hearing aid usually means sound is leaking back to the microphone. Here is what to check at home, and what a fit adjustment in the office fixes.
Read time: 3 min read
Medically reviewed by: Dr. Jennifer Ratner, Au.D.

When the problem is frustrating, the trick is to isolate one variable at a time.
Feedback means sound is escaping the ear and finding the microphone again.
“A hearing aid that whistles when you hug someone is telling you the seal is loose, not that the device is broken.”
Step 1: isolate the problem
Write down whether it happens in one ear, one room, one app, one device, or one kind of listening environment.
Step 2: check the simple variables
The most helpful details are which ear or device is affected, when the issue started, cleaning habits, charger behavior, and feedback or weak sound.
Step 3: stop troubleshooting when symptoms are medical
Seek prompt medical guidance for sudden hearing loss, severe dizziness, new one-sided symptoms, drainage, significant ear pain, facial weakness, head injury, or heartbeat-like tinnitus.
Step 4: let testing narrow it down
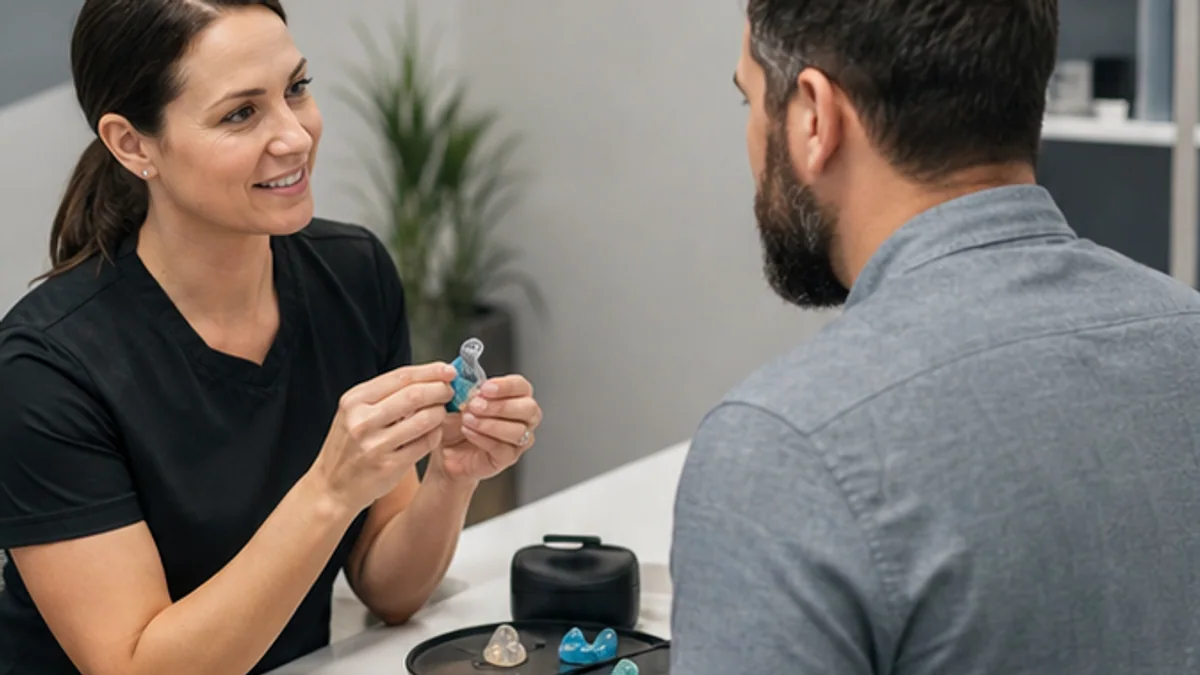
An office check settles whether the whistling comes from wax, a loose dome, or a fitting whose gain needs reshaping.
Step 5: bring the evidence
Bring devices, chargers, domes, wax guards, app access, prior test results, and examples from real life.
Local care note
Many Westchester and lower Fairfield County patients split time between home, work, restaurants, worship, fitness, and family gatherings, so hearing care should be tuned for more than one environment.
Bottom line
The best next step is a device clean-and-check, repair triage, reprogramming, or fit adjustment.
Common questions
Can I stop the whistling myself?
Reseating the dome and cleaning the device is worth trying. Whistling that continues all day usually needs the fit or the programming changed in the office.
What symptoms should make me act faster?
Seek prompt medical guidance for sudden hearing loss, severe dizziness, new one-sided symptoms, drainage, significant pain, facial weakness, head injury, or heartbeat-like tinnitus.
What should I bring to a tune-up?
Both hearing aids, the charger, spare domes and wax guards, and a note of when the whistling happens: on insertion, under a hat, or all day.